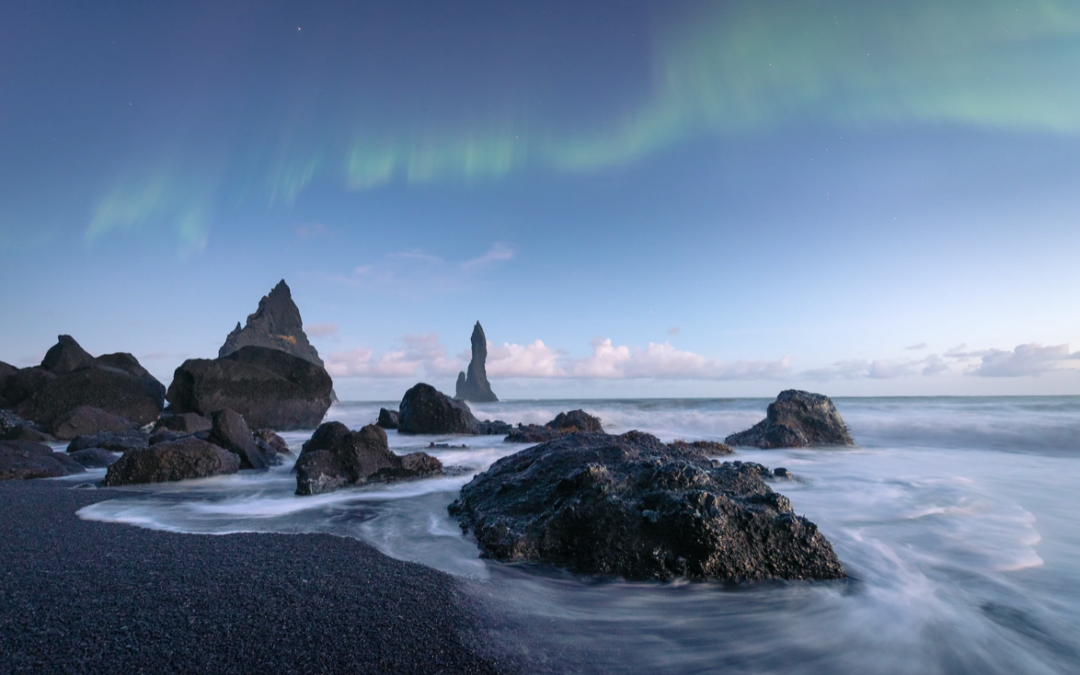
There is a science to predicting the phenomena – but ultimately catching the northern lights comes down to a mix of luck and effort, and a bit of planning step-by-step. Here’s how to increase your chances of having an epic northern lights experience.
Step 1: Choose where to go
Where you go should depend on your time and interests – but Iceland is a safe bet
Contrary to the name, the northern lights do not brighten with every northern latitude. They appear, instead, on top of the globe like a doughnut, known as the Aurora Oval. This is good news for travelers who don’t want to trek all the way to the North Pole – the oval latitudes 60° to 75° North range from Bergen, Norway (Europe’s capital of rain) to Salla, Lapland (the self-proclaimed coldest town of Finland).
Among Nordic destinations (Finland, Sweden, Norway, Denmark, Iceland), the middle-of-the-aurora-belt Iceland is the easiest place to get to for most travelers. Reykjavík, the northernmost capital, is a major hub for international flights and a good place to seek out the phenomenon. It also has the added benefit of being popular for plenty of outdoor adventures like hikes, so you will have plenty to fill your time with when you’re not chasing auroras.
But there’s no need to limit yourself – more far-flung Arctic destinations have the benefit of constant darkness, or very brief hours of sunlight. In Tromsø, Norway, I saw the auroras at 5pm on a December afternoon last year. Sailing in Scoresby Sound, Greenland, some years ago, I saw them as early as late August.

Where you go may also depend on what else you want to do on your trip when you’re not trying to spot the lights. Lapland is a popular destination for families at Christmas time, where a visit to Santa is a possibility. Heading to hip Sweden means you could enjoy a city break in Stockholm before heading to somewhere like Abisko National Park (on a 17-hour train ride, or a faster flight). Even though the lights might be your number-one priority, it’s also good to plan some other incredible experiences – on the off chance you don’t see the lights you’ll still have a memorable experience.
Step 2: Determine the best time to go
Dark nights are a must for seeing the lights
Aurora hunters – a professional title in the high North – claim the best time to see vivid northern lights is around the solar equinoxes, when day and night are of equal length. Statistically speaking, this claim has some merit – yet the correlation is hardly enough to dictate your travel plans. Dark nights, however long, are the fundamentals. The forces creating the spectacular streaks of colors are active year-round; we just don’t see them during bright summer nights. While the winter brings the cold, it also increases your chances of seeing the nighttime illumination.
The northern lights are caused by solar activity. A flow of charged particles from the sun, called the solar wind, slams into the earth’s magnetic field and cause atoms in the upper atmosphere to glow. The lights appear quite suddenly, their intensity varying – but on any given day, scientists publish a forecast based on solar winds in the past three days to predict aurora strength.
In the Nordics, the Met Office of each country operates a nine-scale forecast every day. (The scale is not a normal curve: it usually hovers around level three, while strength beyond level five is a rare solar storm.)
Once you have your destination, find the necessary websites to track their aurora activity. For example, Iceland’s Meteorological Office has a daily forecast you can check out.
Step 3: Find a trip that is right for you
You don’t have to go remote, but you may want to trust a professional
Some tourists put too much emphasis on escaping city lights. It’s enough to just leave immediate light pollution like street lights and houses to get a clear view of darkness; venturing five hundred miles off the grid won’t make a difference.
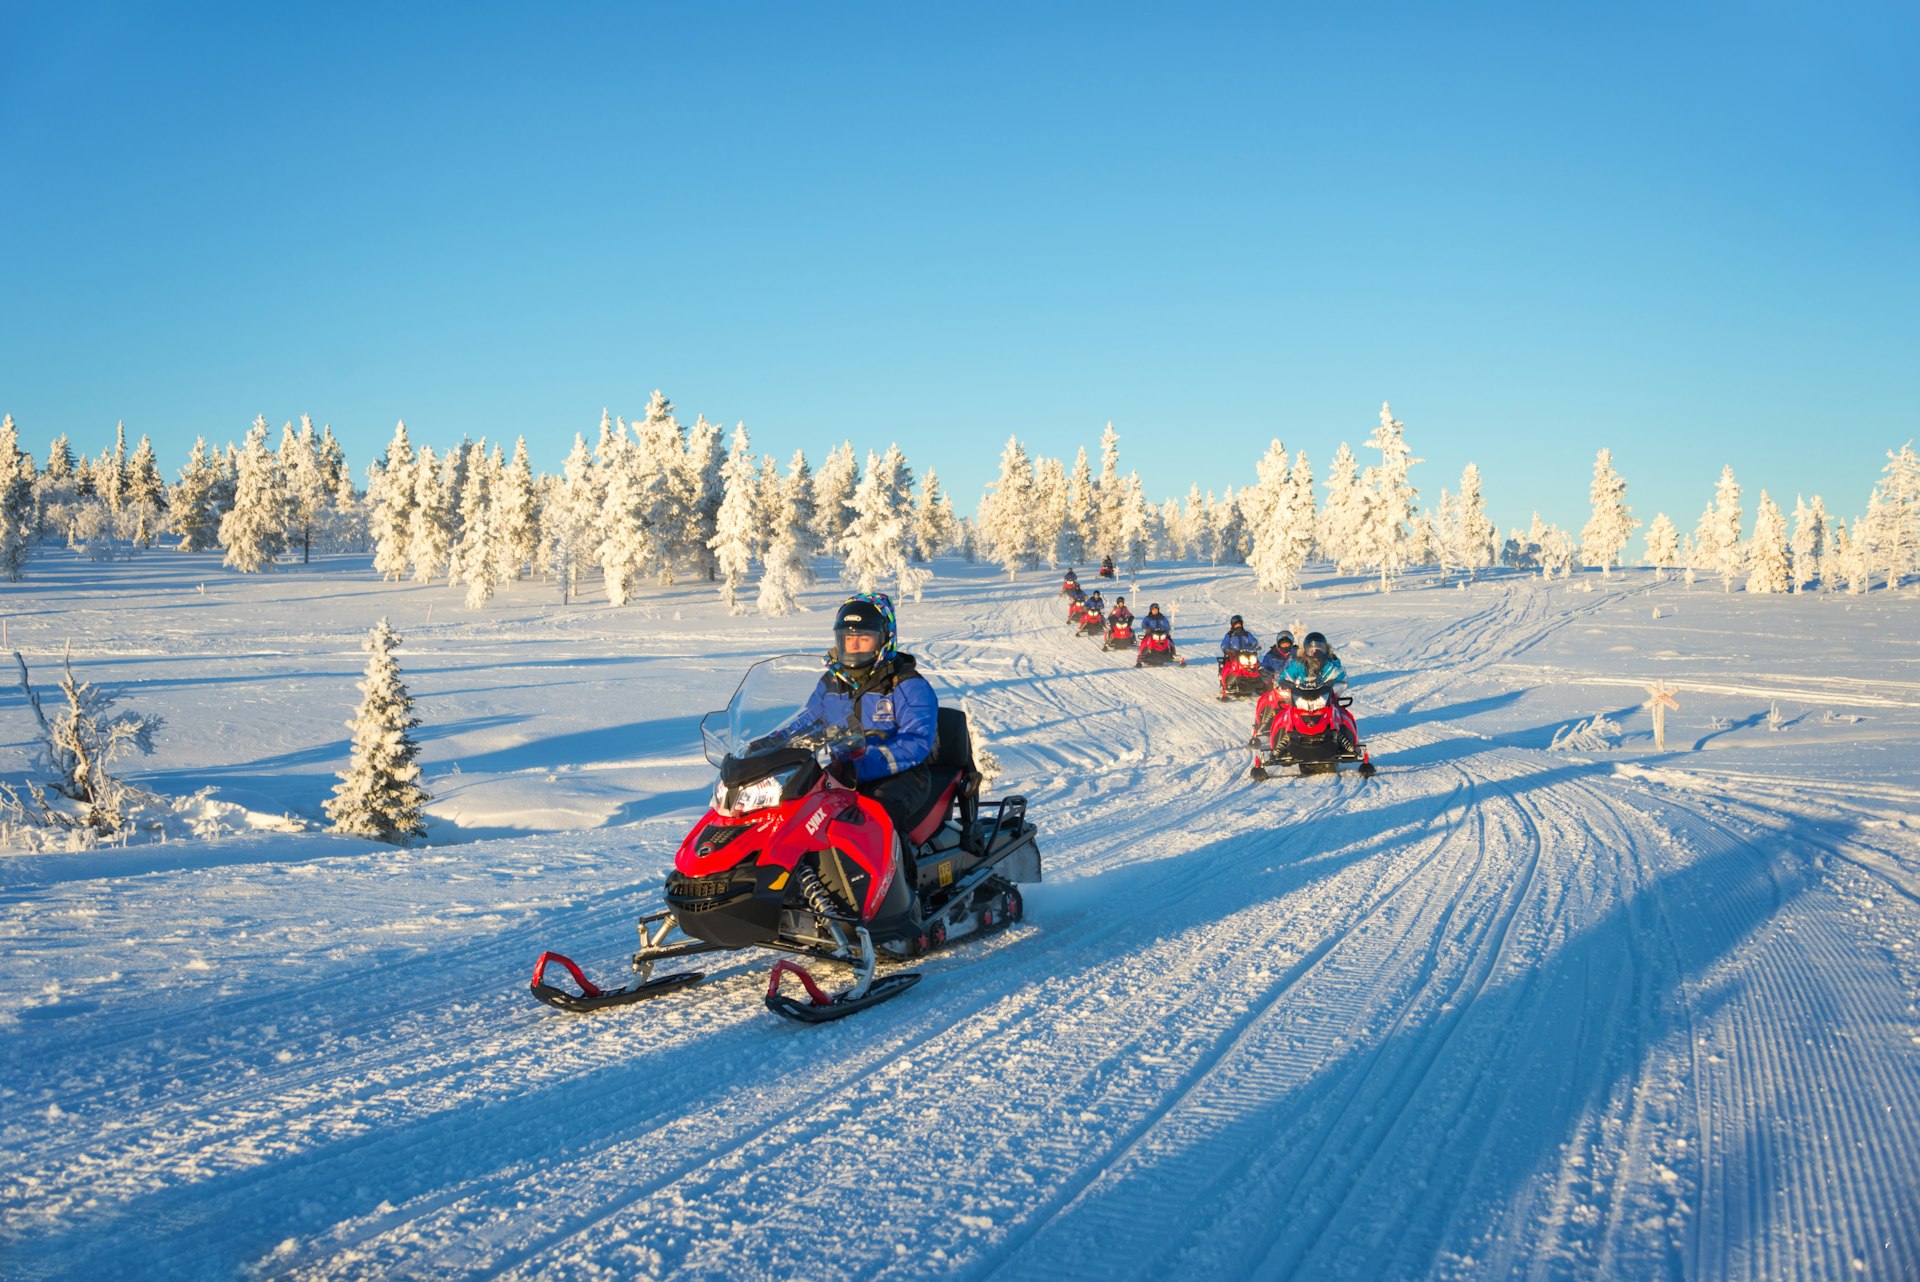
That’s not to say venturing to some remote, dark valley is not worth the trip. For one, taking part in other activities like snowmobiling makes it easier to wait outside.

Going with a tour operator provides a good structure to the experience, and a chance to try something new like dog sledding, boat cruising, cruising in a super-jeep or snowmobiling. Guides will also have the resources and experience to help track the forecasts and seek out the lights. And they’ll often know the best spots for viewing the lights, with back-up spots if the weather isn’t cooperating.
If you want to travel independently, plan extensively and take safety precautions against cold conditions – especially if you aren’t used to them at home.
Another clever form of help are remote hotels with wake-up service by a dedicated watchperson, whose job it is to wait for the lights to be visible and alert the guests. This means you can choose to sleep instead of patiently waiting in the cold .
Step 4: Figure out what gear you need
Big surprise: you’ll need to pack warm
Prepare like you’re going to a mountain summit, with no trees or buildings sheltering you from the cool wind. Searching for the auroras is a waiting game – and success can come down to that extra layer you thought was unnecessary. Invest in a thermal underlayer that will retain heat. If you’re going on a tour, ask for specifics on what you should bring for the local climate. Many tour companies will also provide the sort of heavy-duty outer layer you might not have lying around the house.

Spotting the lights is sure to stick with you, but you may also want to capture this stunning sight for posterity. When it comes to capturing them, note that the northern lights are photographed at shutter-speed of five to 20 seconds. A tripod is an absolute must for a strong picture; better yet, invest in a remote shutter release. The newest smartphones are still able to capture surprisingly good footage, but hardly promising enough to make your work shine in the competitive field of #auroras.
Step 5: Plan for the worst and hope for the best
Manage your expectations and check the cancellation policy
Managing expectations is a part of any northern lights journey: you may have come a long way, and it seems only fair the clouds throw open the curtains for a spectacular show. It helps to go at it in the company of someone else, I think, to share the frustration – and eventually the excitement.
Contact WGY Travel today to begin your journey to the northern lights. 888-WGY-0808 or [email protected] www.wgylifestyle.com

